From Raw Footage to Ride-Worthy Reels: Mastering Your Editor's Toolkit (Explainer & Practical Tips)
Embarking on the journey from raw, unedited clips to polished, engaging video content requires a deep understanding of your video editing software. This isn't just about cutting and splicing; it's about transforming a collection of individual moments into a compelling narrative that resonates with your audience. Think of your editor's toolkit as a sprawling workshop, each tool serving a specific, crucial purpose. Mastering these tools means not only knowing what they do but also when and how to apply them effectively. From fundamental trimming and transitions to advanced color grading and audio mixing, every feature plays a vital role in elevating your footage from mere recordings to captivating visual stories.
To truly master your editor's toolkit, a practical, hands-on approach is essential. Don't shy away from experimentation; that's where true learning happens. Start with the basics:
- Importing and Organizing: Learn efficient workflows for managing your media.
- Cutting and Trimming: Practice precise edits to remove unwanted sections and tighten pacing.
- Adding Transitions: Experiment with various transitions to smoothly connect scenes.
- Basic Audio Adjustments: Ensure clear dialogue and balanced soundscapes.
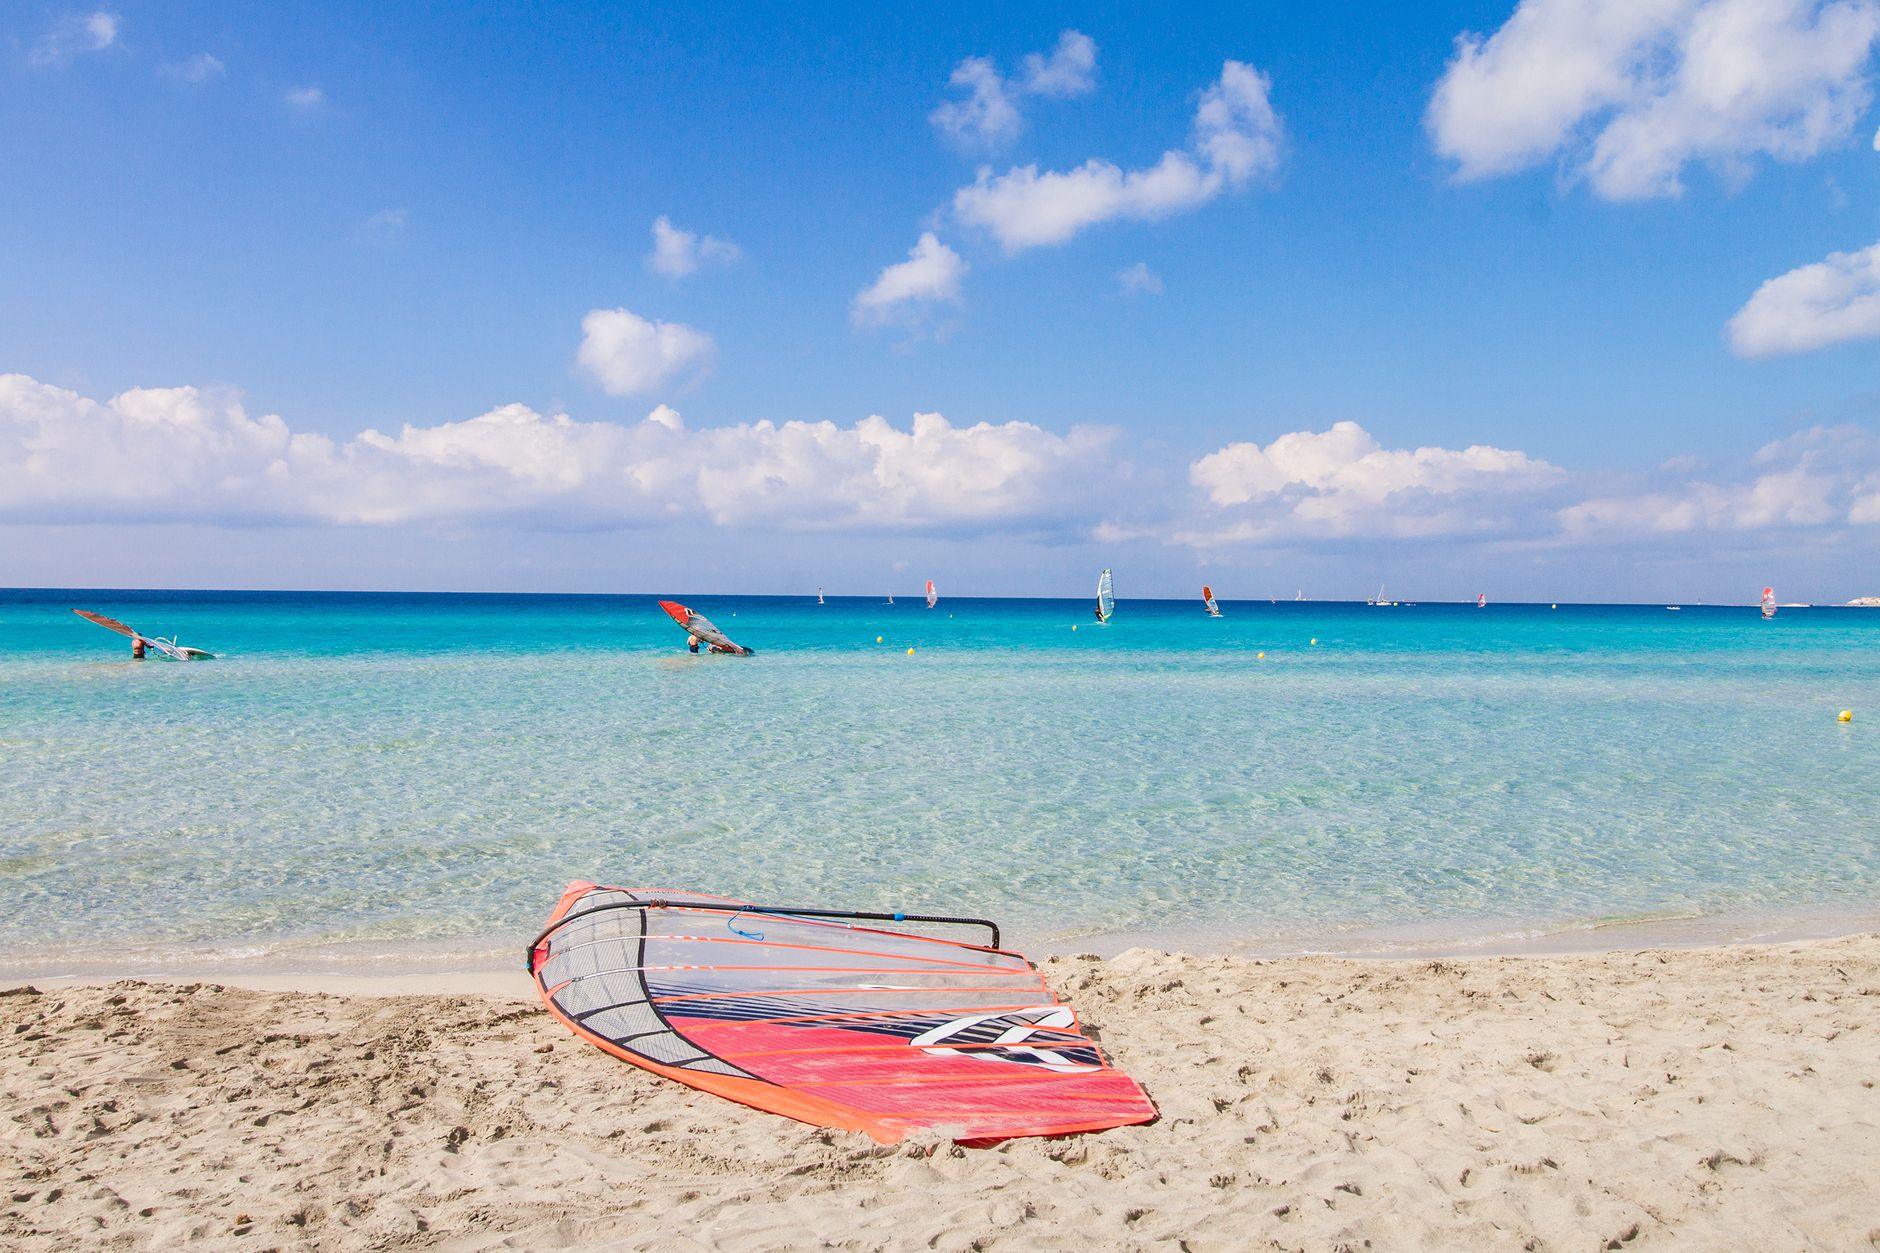
The windsurf editor is a powerful tool designed for creating and modifying windsurf models. It offers a user-friendly interface with advanced features for both beginners and experienced designers, enabling precise adjustments and realistic simulations.
Beyond the Chop: Answering Your Top Windsurf Editing Questions (Common Questions & Practical Tips)
So you've captured some epic windsurfing footage, but now what? The editing bay can feel like a new frontier, and it's natural to have questions. One common query is about stabilization. While most modern cameras have decent in-built stabilization, a dedicated software like ReelSteady GO or Warp Stabilizer (within Adobe Premiere Pro) can take your shaky footage to buttery smooth. Another frequent concern revolves around music selection and licensing. Always use royalty-free music from platforms like Epidemic Sound or Artlist, or secure proper licenses to avoid copyright strikes. Remember, the right soundtrack elevates your video from good to great. Finally, many ask about the ideal video length. For social media, aim for 1-3 minutes to maintain engagement, while YouTube tutorials or session recaps can extend to 5-10 minutes, depending on the content's depth and your audience's patience.
Beyond the technicalities, there are practical tips that can significantly enhance your windsurf edits. Firstly, storytelling is key. Don't just string clips together; aim to create a narrative, even a simple one. Start with an establishing shot, build up to the action, and conclude with a satisfying resolution. Secondly, experiment with different shot types and angles. Think about combining wide shots of the entire scene with close-ups of board maneuvers or a rider's expression. Using a drone for aerial perspectives adds incredible production value. Thirdly, pay attention to color grading. While not always necessary for a quick edit, a subtle color correction can make your footage pop and give it a professional finish. Tools like Lumetri Color in Premiere Pro offer powerful yet intuitive controls. Lastly, don't be afraid to get feedback from fellow windsurfers or editors before publishing; a fresh pair of eyes can spot areas for improvement you might have missed.